Composting 101: Getting Started
Although far from expert, today I am sharing my tips on getting our compost bins started. We live in a suburban setting, so we don’t have a ton of space for it - but we seem to be off to a great start!
Firstly, I’m sharing a few major benefits to composting - besides that fact that it’s FREE and easy. The only real cost is your time and the bins required to cook your compost. Aside from saving majorly on sending trash to the landfill, composting produces super rich soil for your plants. The soil that is created can reduce your reliance on chemical fertilizer and can hold more water than other soil, keeping your plants super hydrated and healthy. The benefits can stretch as far as the ocean, too. This article from Grow Ensemble is full of helpful information and helped me learn about more benefits that I wasn’t even aware of.
Shop for your bins. Luckily, my city introduced a composting program where I was provided the composting bins at a deep discount. If you’re on the hunt, you’ll want to look for a countertop bin as well as your main tumbler. We were provided with the Hot Frog dual sided tumbler and while we’re still just beginning, so far we like it. Since we began, we actually eliminated the countertop bin to keep our counters more clear, so we store it under our sink. When it’s time to cook and we know we’ll have food scraps, we get it out to load it up. It’s important to make sure the system you use works for you and your lifestyle - so you might need to change it up to make it work. The easier it is to use the more you will benefit from all of the advantages to composting.
Set everything up. You’ll want to find a convenient spot for your tumbler outside, but make sure it’s away from your typical area of foot traffic - it could get smelly. However, keep it close enough that you won’t hesitate on sending food scraps out.
Add starter soil. To begin, we added a handful or two of regular soil to introduce our compost pile to the bacterias necessary to kick off the process.
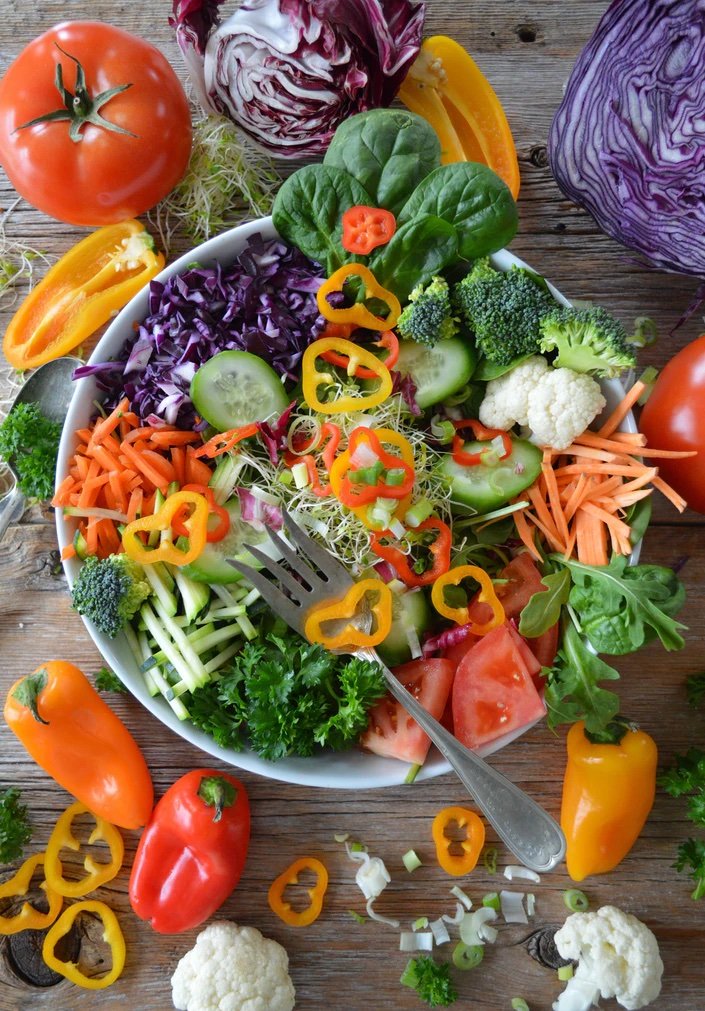
Add your food scraps and browns, but stay familiar with the recipe. As you add to your bin, you’ll want to make sure you have healthy balance of browns (grass clippings, twigs, dead leaves, etc.) and food scraps from your kitchen. It obviously doesn’t need to be exact, but a 50/50 ratio is good to aim for.
Avoid animal products. When we did our initial research, we learned that animal products can often cause issues with compost such as maggots. So, we are sticking to food scraps like banana peels, coffee grounds, apple cores, corn husks, etc. (no egg shells, unless rinsed.)
Add water if needed. If the compost seems dry, try adding a bit of water to help moisten the recipe.
Turn! Every so often, be sure to give your pile a turn to mix it up. Our tumbler is easy to spin, so I give it a few pushes each time I am outside.
I’m only a month into composting, so I will add more tips as I go. If you have tips for me or are a composting expert, drop them in the comments!